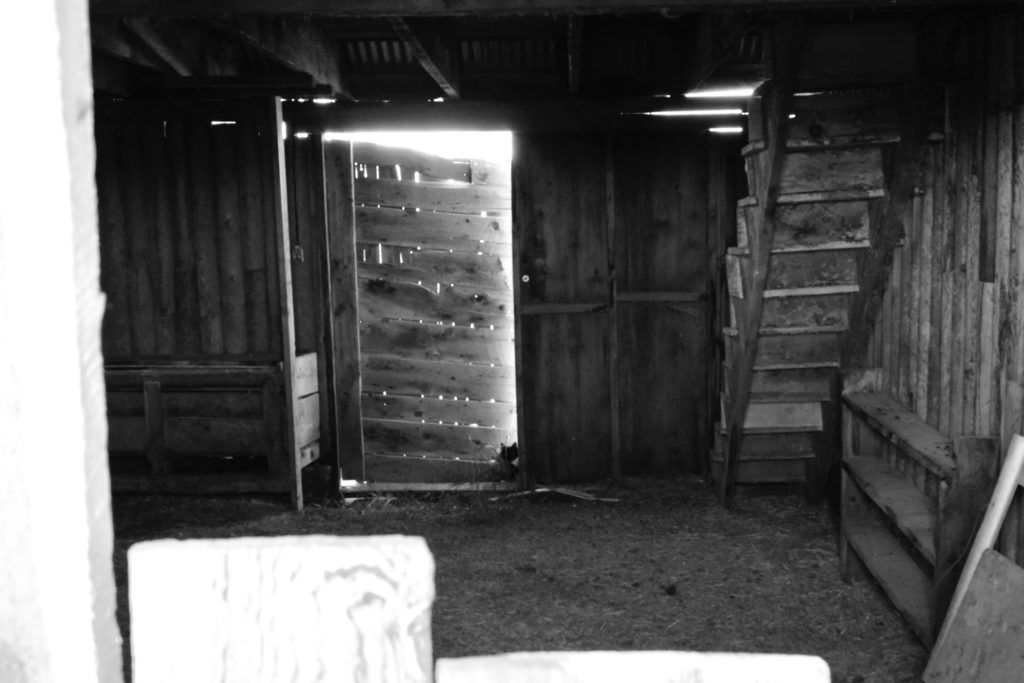
Today we’re going to be talking about something a little different: Urban Exploration.
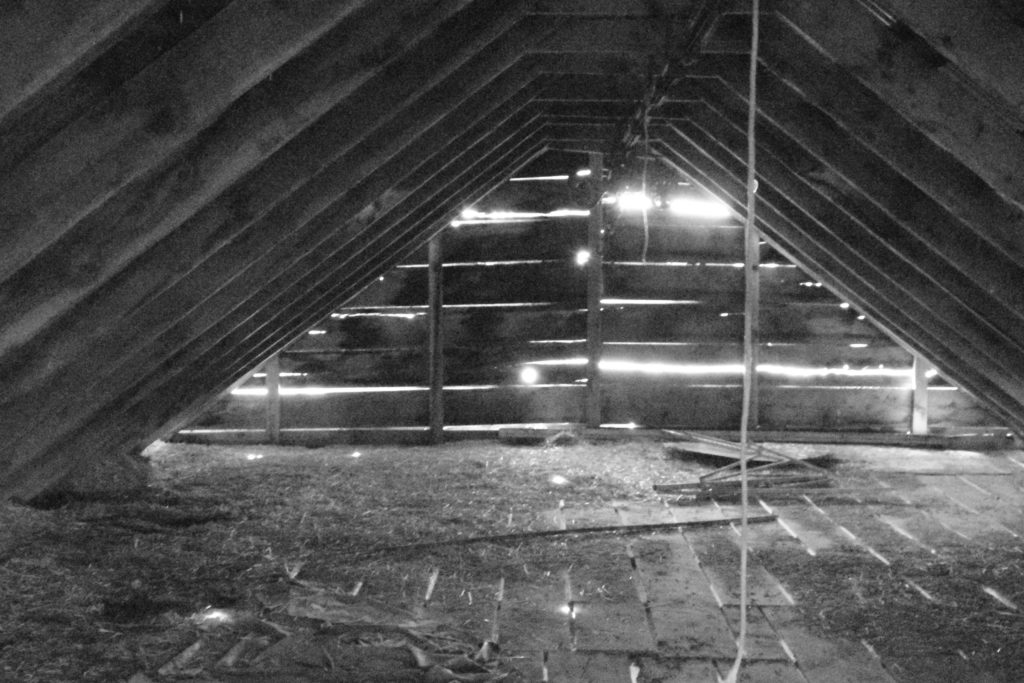
Also known as Urbex, it’s the hobby of entering old abandoned buildings or similar locations, and just exploring the heck out of them. Snooping in and out of rooms, going through objects left behind, exposing yourself to all of the energy and spirits left behind from the previous tenants– and honestly, unless you’ve done it before, there’s a certain thrill that comes from going out to explore for the first time.
Whether that’s due to the less-than-legal aspects behind a lot of it, or simply because you’re sensitive enough to sense the heaviness in the air, the experience is one you truly have to be a part of to understand and explain.
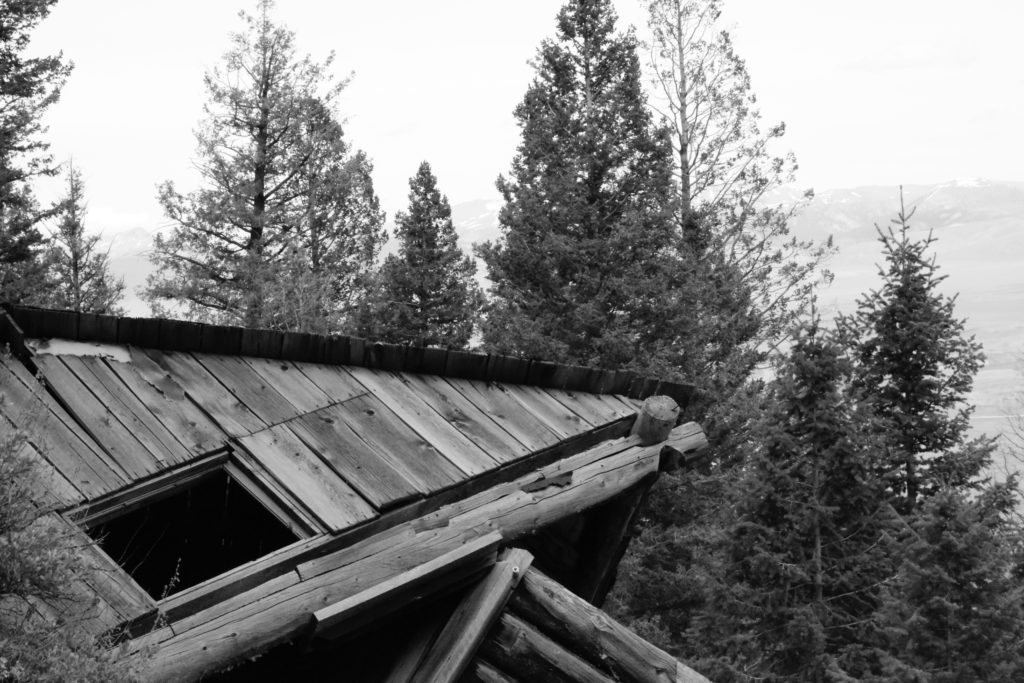
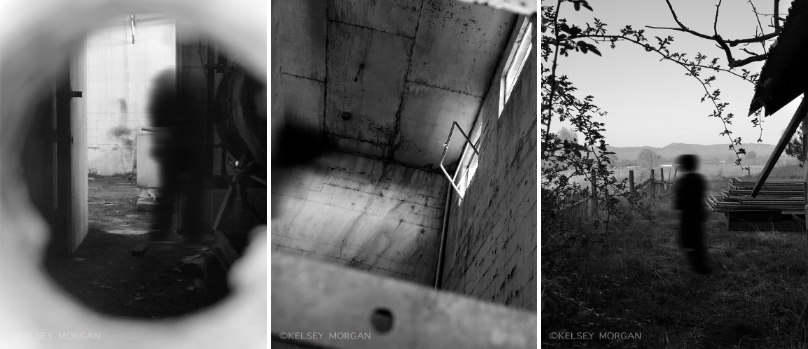
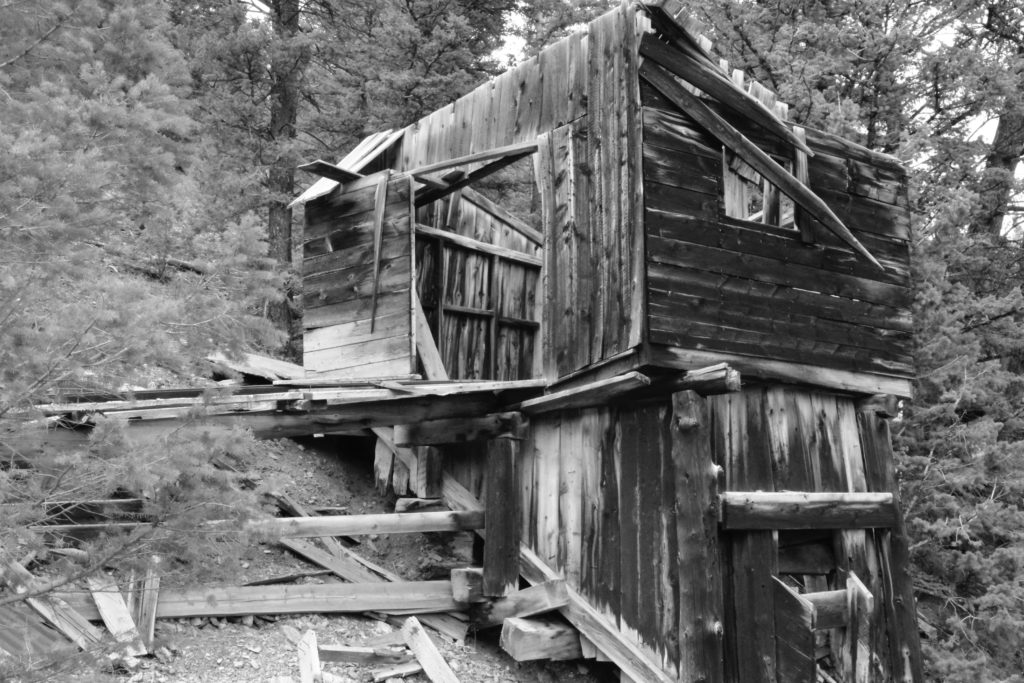
I’m personally familiar with two abandoned places in particular, and I’ve done photoshoots at both: Eagle Island, located in Eagle, Idaho, and the abandoned mines of Gilmore, Idaho. Both of these places filled me with a certain dread that I can’t quite explain. If you’ve ever urban-explored yourself, maybe you could help me out in the comments.
Anyway, I digress. I could probably write entire essays on the sort of vibes I received at both of these places, how they were both so similar yet so different… but instead, I want to talk about you, my urban-wanderlusted friend.
So, you want to explore abandoned buildings? You want to see what’s left of them, want to feel or their spirits? I don’t blame you. It’s addictive.
Before I laud it too much, though, I want to get into some of the things you should keep in mind, that come hand in hand with urban exploring:
-
Safety
I already mentioned the questionable legality of entering a lot of abandoned places, and there’s reason for that: for the most part, buildings and other structures will be closed off to the public for one of two reasons. Either they are privately owned and said owner wants to avoid as much vandalism as possible, or the buildings/surroundings themselves are simply death traps waiting to collapse on any unsuspecting passersby.
With that in mind, it’s of the utmost importance that you NEVER enter a building that’s on the verge of collapsing (particularly in the form of a sinking rooftop), as well as never spending too much time around dead or dying trees or other tall structures like telephone poles that might be ready to fall. Anything high up that could crush you, steer clear. It’s not worth it.
To touch briefly on trespassing laws: be absolutely sure that the place you’re entering is not privately owned, and that you will not be thrown in jail for trespassing on the property (unless you’re into that, living a life on the edge and the whole criminal-record aesthetic or whatever.)
What’s more, never physically break into a place if you find it too irresistible, only enter through already existing means, like broken windows, open doors, etc.
Be sure to take someone with you when you go exploring, in case something does collapse and you find yourself trapped underneath, or more importantly, you find yourself in need of emergency medical help.
If you can’t convince anyone to join you on this death-venture, make sure someone at least knows where you’re going, how long you’ll be there, and when you expect to be back. That way, if too much time passes without contact, they’ll know something is wrong and will investigate.
One last thing: Wear a face or respirator mask in areas where asbestos paint might be present, along with any other dust and grime that’ll possibly get kicked up into your lungs. Also consider wearing thick boots and gloves, to avoid the dangerous bite of rusty nails and broken glass. If you do get nicked by something, wash it out and seek out medical attention if it’s been awhile since your last tetanus shot.
-
Gear
Tripods are you best friend! Even cheap ones from the nearest supercenter, tripods will make your life so much easier, and will save you a lot of grief during post-production, when your photos all turn out slightly blurry because you had to leave the shutter open for an extended period of time.
If you don’t have much experience with photography as it is, you might be surprised at how long you sometimes have to leave the shutter open, even during midday photoshoots. When that’s the case, even the smallest bump can ruin a beautiful composition, and in turn ruin your mood. So, a tripod. Hop to it!

Another thing you’ll learn as a veteran photographer: ALWAYS, ALWAYS, ALWAYS wear your camera strap!
Even if you’re only snapping a quick shot, or it’s uncomfortable and you’d rather just carry it in your hands, please, I’m begging you, wear the strap. It’s a lot less of an issue than having to buy a new camera or a new lense because it accidentally slipped from your hands and was crushed on impact with the cement floor.
Even if you’re the least clumsy person on the planet, treat your camera like your baby. Or a small puppy. Or a tiny bird. Protect it.
Every time someone asks to check out my camera, and they do so over the tile kitchen floor without the strap around their neck, I scream internally and calmly ask them to put the strap on. They always give me weird looks, as if I’m an overbearing parent, but my camera is my son and I will protect him like a mother bear.
-
Post Production & Displaying
Post Production
Assuming you took my tripod advice and are now happily drowning in flawlessly composed images, what’s next?
You should eventually get to the point of experience where you need no photo editing after the fact, but this is not a perfect world and anyone who can actually do that is a god among men.
First things first, I am a big fan of Adobe Lightroom and Photoshop, obviously, but I also know those programs aren’t exactly in reach of the everyday photo hobbyist. With that in mind, then, here’s a quick list of some other free photo editors you could try out:
Or, if you’d rather not download anything, here are some basic browser photo editors:
- Photoshop Express
- BeFunky Photo Editor
- Pixlr Editor
- Sumo Paint
Definitely take some time to mess around with the options in each one, and find a style you personally enjoy, which complements your works the best!
If you want some more advice, I also wrote an article for BlogPaws.com on editing photos using only your phone, which might come in handy if you’re looking for some simple guidelines. The article includes photos of cute cats, so I highly recommend it. I promise it’s actually helpful, and I’m not just self-advertising my other stuff from around the web. What? That’s egregious.
Displaying
Here comes the fruit of your labors: displaying your beautiful photography!
Whether it’s a personal gallery in the comfort of your own home, or maybe you landed a gig at a nearby coffee house or Student Union Building, knowing how to hang your works of art and, more importantly, where to have them printed in the first place, isn’t a step to rush through.
Take time to research not only the different photo printers in your area, or even look at a few that offer services online (though I don’t always recommend doing it over the internet, as quality-control is much easier when you can deal with the printer in person).
After you have your stack of properly-printed works, next comes the harrowing journey that is hanging your pieces. Don’t fret though, it’s much easier than you think, I can promise that.
From the unsuspecting audience’s view, gallery works must look so incredibly crafted, hanging so effortlessly, probably costing the artist or the gallery a fortune… when in reality, chances are the super special mechanisms holding up pieces of art are probably as simple as some tape and metal washers. That’s what my drawing professor always taught us, anyway.
Do you have any experiences in Urban Exploration? Maybe some pics you’d like to show off? Do you know of some awesome abandoned places that are not only physically safe, but also easily accessible to the public? Share them in the comments!
While we’re at it, if you’re interested in seeing some Urban Exploration photography in action, check out these subreddits from Reddit.com:
- r/UrbanExploration
- r/Abandoned
- r/AbandonedPorn (no actual nudity, 100% safe for work!)
And, if you want to read up on more Urbex tips, check out these sites:
- Urban Exploration Photography Tips- A Beginner’s Guide
- Top 10 Tips for Urban Exploration
- An Introduction to Urban Exploration
Kelsey graduated from Boise State University with a BA in Visual Arts, and is currently working as a freelance writer, while doodling anime on the side with one hand and petting cats with the other.
What a GREAT article, Kelsey! LOVED all the tips and tricks and especially the neat links at the end to the photo editors! SWEET! (I’ve recently become smitten with taking pictures. Well, I’ve been into it more and more as I get older, but I’ve discovered filters and stickers and overlays, etc lately and oh boy….addictive and FUN!) So that’s why I appreciate knowing where to find some more fun options. Thx!